NOTE: This guide was written with a view to migrating a system drive – the C: drive, where Windows is installed. Simply copying the files from such a drive to another will not result in a bootable drive, so it must be cloned instead via software like that which is described below. I have been told that this same software may not work for cloning drives which do *not* have Windows installed, but in that case you can simply copy all the files and folders from one drive to another without the need to specifically clone the drive.
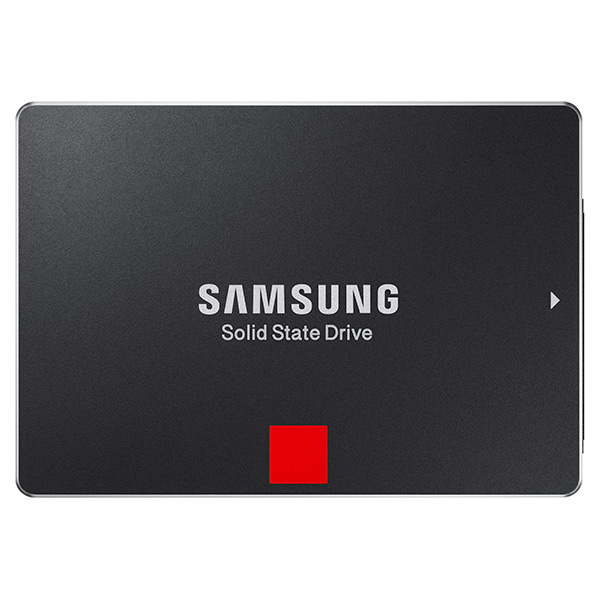
This guide will walk through the process of cloning an existing Windows system to a Samsung brand solid-state drive (SSD). Doing this can be a great upgrade for folks currently using a hard drive, since SSDs are much faster, as well as those who have a small SSD already and need to move up to a larger drive. I've run into that myself a few times over the years, and have moved my main system from a 80GB drive to 120GB, then 240GB, and most recently to a Samsung 840 EVO 500GB drive. If you are using an Intel drive instead, we have a guide to their migration tool as well.
1) With the computer turned off and opened up, connect your new Samsung SSD to the system by plugging a SATA cable into your motherboard’s SATA controller and then connecting the other end of the cable and a SATA power connector to your new SSD (typically there is a free power connector on the same cable that is plugged into your existing disks). You can also use an external USB adapter, if you don't want to open the computer up just yet or don't have a spare SATA cable, though transferring via USB will generally be slower than with the drive connected internally.
2) Turn the computer on and download the Data Migration Software from Samsung’s website.
3) Once you’ve downloaded the .zip file above, extract the .exe inside it and then run that installer.
4) Proceed with selection of the language you want (English, for most of us) and acceptance of the license terms:
5) Once the installer completes, it will automatically run the Samsung Data Migration Software. The first thing it does is check to see if a newer version is available, and if so it offers the option to upgrade. It is generally best to use the latest version, so if there is an upgrade available click on Update:
6) If you updated, it will now install the new version – effectively sending you back to step #4 above. Go ahead and follow that step again, then move on to #7.
7) Once successfully installed and launched, the 'Start' page for the Samsung Data Migration Software looks like this:
8) Click on Start in the bottom right hand corner. The program will proceed to a page showing the source and target drive options available:
9) Make sure the drive you want to clone from is selected at the top, and the new Samsung SSD is selected at the bottom. The software will only let you copy to a Samsung SSD, so that helps protect against accidentally copying onto another drive in your system – but still, be careful to make sure you pick the right drive since anything on the target drive will be wiped out. When ready, click 'Start', and then click 'Yes' to confirm you have made the proper drive selection and are aware the target drive will be wiped clean:
10) The cloning process will now begin. Be careful not to disconnect any drives or turn the system off during the cloning process. It is also recommended that you not edit any files on the system or use the computer while this process is going on. Any open files cannot be cloned properly. The Samsung Data Migration Software will display the progress and estimated time to completion:
11) When the cloning process is finished, you will be greeted by the completion screen:
12) At this point you can 'Quit' out of the Samsung Data Migration Software – which will prompt you to shut down the computer:
13) With the system turned off, remove your original drive and put the new Samsung SSD in its place. When you turn the system back on it should be exactly as it was with the previous drive, except that you are now running off a super-fast SSD! Once you are confident that the process went well and the new drive is working for you, you can re-use the older drive for something else: additional storage in the same computer, or if it was already a SSD (just smaller / older than the new one) to upgrade another computer you have. If you do put it back in the same computer, you may need to go into the BIOS to ensure that the new SSD is set to be the primary boot drive (so that the system no longer boots to the older drive).
